
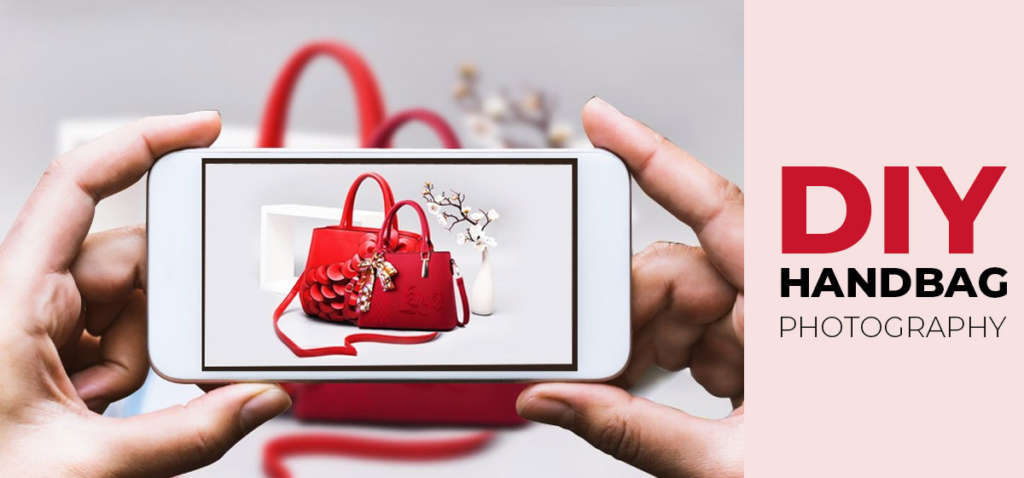
How to Shoot Handbags with your Mobile
Launching your product on an eCommerce website is a big leap towards brand digitalization. Be it the most basic of groceries to the top-notch fashion accessories, selling online is the magic wand that you need, to get noticed and get access to a loyal customer base.
When we talk of online fashion, handbags have a separate fan base and fall into the top selling categories in almost all major online platforms. Product images are the heart and soul of eCommerce body and when your main subject is handbags, you need to really think like an artist to pull it off like a pro.
We bring to you some noteworthy points for an awesome handbag photoshoot that renders equally awesome images at the end with something as basic as your mobile phone camera. Read on to know how you can do it from scratch!
Light up - it makes a big difference
Good lighting to an image is similar to what good spice is to food. Their absence will result in flavourless, goofed up end product. For most of the times, handbag photography can be nailed in well-lit rooms with large windows or space that allows sunlight to enter liberally. However, it is not suitable to place the products in direct sunlight because it can cause color change in the final image and cast harsh shadows which is highly unpleasant. Always opt for cool natural light to capture the real charm of your handbag.
If you are doing indoor photoshoot using your mobile camera then using a lightbox(or light tent) can do the trick. Wrapped on all sides by a translucent object or white surface, a photo lit box can save you from a badly lit day or when nature is not on your side. The light box diffuses the light coming from a source and lights up the handbag properly from all sides. This light permeation enables enough illumination, bringing out the details of the product rendering a classy and professional-like image in the end.
Apparently, 22% customers return a certain product because it looks different in person. Bad lighting can make your product look unreal and can ruin your picture. By all means, harsh lighting is big no and you might want to couple lightbox with diffusers to minimize the lights especially if the surface of handbags is too shiny or glittery.
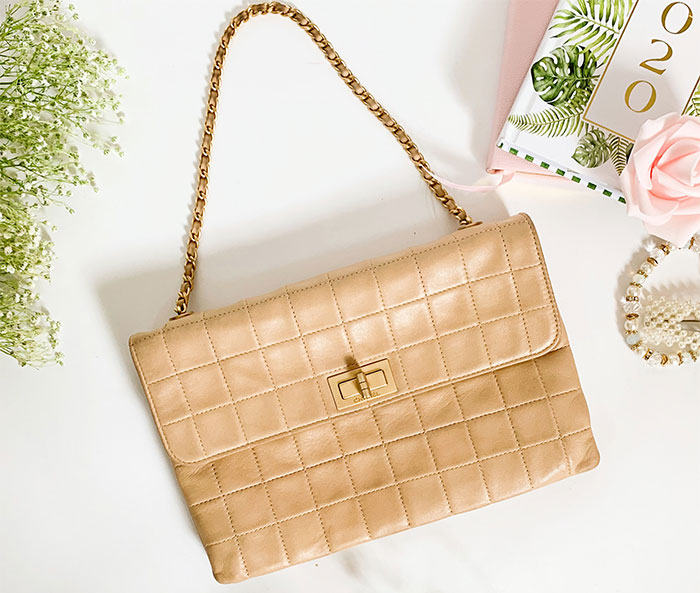
Pair with a Suitable Background
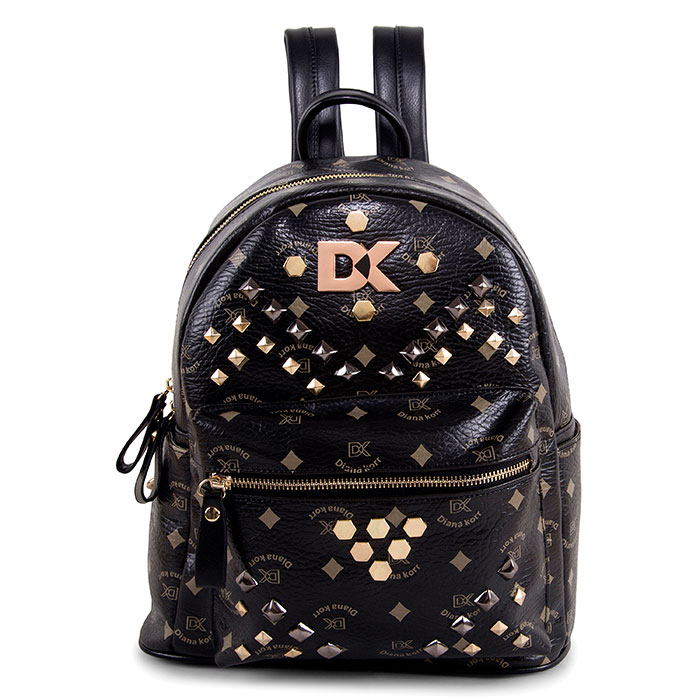
A suitable background can get your image a long way. You can never fail when you go with the gold industry standard way of taking handbag photographs against a white background. The white backdrop offers great benefits in product photography as it works well with every color, brings out the real color and tone of handbag(without any interference) in the final image and keeps the buyers hooked on the product; all the great qualities expected from a background.
You might be tempted to use other colors to make your product look stunning and stand out but professionals opt for white undertones because they can easily be removed in the post-production process. Working with a background quickens the editing process and allows the editor to place product in whichever environment they like.
Shoot the bag like a pro
Now that your lighting is in place, prepare your handbag before you begin clicking. Handbag preparation prior to shooting is a religious ritual that you should include because it saves tons of your time in final rendering of images. Don’t follow the “will edit in final stage” approach, it is not only an unprofessional thing but also a time-eating event.
To begin with, thoroughly clean the handbag and remove any dust stains or other particles (if any) stuck to the surface. Polish the base surface with a clean brush to remove any unwanted impurity. Just be double sure before you begin clicking because sometimes your camera can highlight even the most seemingly invisible defects.
Bag stuffing is a must to provide the bas with a sturdy look. Without stuffing, the bag is bound to look unattractive to the online viewers. Simply using a cardboard wrapped with a cottony material can do the trick or you can even use crumpled tissue to provide stability to the bag structure. A lanky handbag is the last thing that your customers want to see so ensure that the handbag stands tall and high while photographing.
Hold the straps together with the help of fishing line. Suspend the straps of handbags using fishing line which facilitate creating an arc with the straps or handles if you require. They are also easy to pluck out of the final image in final editing, so they are the best bet.
Now that your pretty handbag is flawless, and shoot-ready, hold your smartphone camera and focus on the product. The mobile camera carries enough features that can help you take brilliant pictures in one go. You can tweak the ISO or white balance or even play with contrast, all depending on your product’s requirements. You could also use suitable tripod stands to make no mistake while shooting
Show the Outside & the Inside
Without good shots form different angles, your picture is incomplete. When you showcase your product on eCommerce stores, the main motive is to create imagery that appeals to the customers and gives them the illusion of holding the bag in hand. A good central angle, upfront picture is a must that is the main image of your product catalogue but don’t think that it is all that you need. In fact, we insist that you take as many pictures as you can form right left bottom and back; you can always delete the extra ones later but ensure that all sides of the bag are covered. Handbag photography gives you endless number of angle options like top view, 45-degree view that your viewers would love to see.
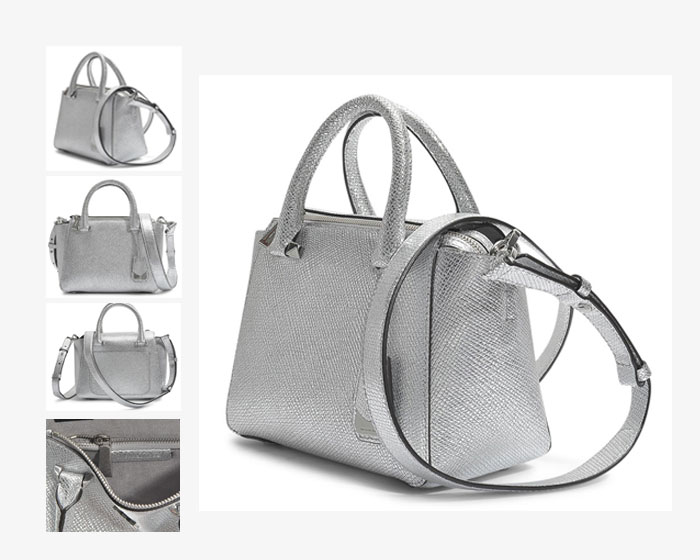
While shooting handbags take care to include one image that shows the interior compartments of the bag for a detailed look. No one knows your product better so if there is anything unique about your handbag like an exclusive material or a funky handle or the intricate stitch on the strap of your bag, be sure to divert your buyer’s attention to those perky little details through planned images.
Need to learn more about angles in photography, click here to see the possibilities that you have for landing that perfect click.
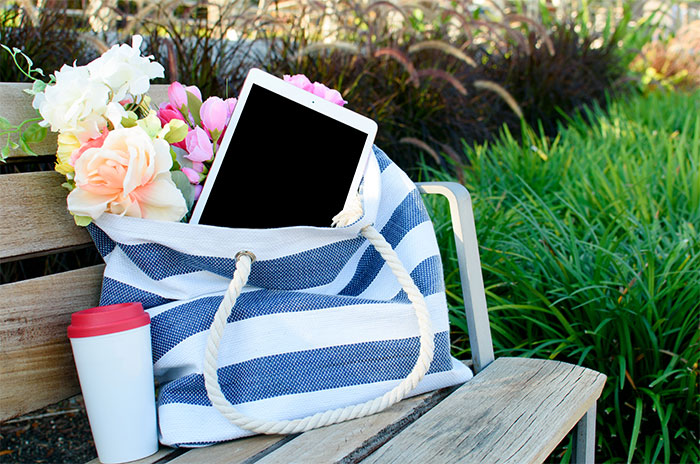
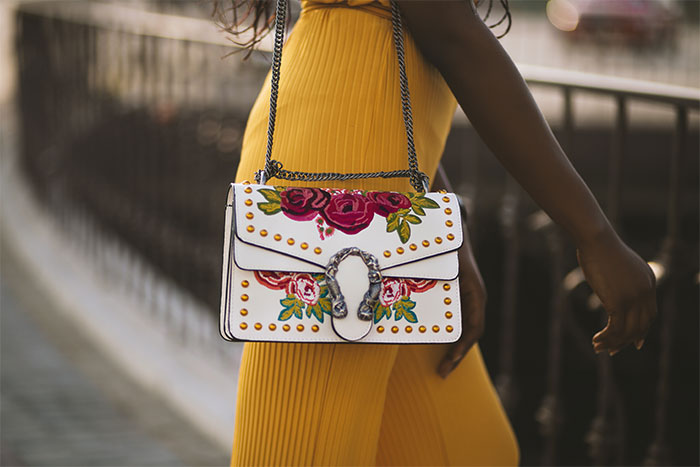
Hire a Model or Get Creative
With all rules and recommendations aside, don’t kill your creativity while following the industry standards. There are couple of big brands out there whose display style is unique and is winning hearts of customers. Handbags are a fashion accessory and just like fashion is an art, handbag photography is your canvas. Using props like natural flowers beside your bag or shooting your bag on a wooden surface – the choice is completely yours. Big brands have started using lifestyle imagery due its impact and the ability to bring out the oomph factor. Seeing a model flaunt a handbag adds another dimension to the image and allows buyers to get a real feel of carrying product like this
Brands can have different approach towards photography and it largely depends on the nature of customers and brand’s market location. If you are out of ideas, here is a list of props that can guide you in the right direction.
Whichever style you choose to depict your gorgeous handbag, one thing to keep in mind is being consistent with it. Mug up your lighting settings and the backdrop style and repeat the same for all ranges of your product to maintain an identifiable style throughout your store. This is a professional advice which greatly enhances the brand recognition among buyers.
Nailing the art of handbag photography or any other product for that matter, requires practice so don’t stop until you achieve perfection.
Do the Final Touch-up
Once you are done with the handbag photoshoot, one last step remains. the post production of images to make them store-ready before uploading. This is usually achieved through any photo editing software and should not be skipped. If you can’t handle this much, then by all means try takin the help of photo editors out there.
The basic changes include color correction to match the color of your product image with the actual color of the product. It is common for customers to complain that the color on image looks different than the product. Let post production experts take care of that.
Adding natural shadows to highlight the products dimensions and other editing necessities like cropping, adjusting the overall temperature of the image, placing the product on lifestyle photographs; are all editing processes that take some patience and practice and can be perfected with time
Go DIY with handbag photography today
Knowing the basics of handbag photography is a must before you begin setting up your DIY photo studio at home for shooting your exquisite collection. Whatever you do, the main aim should be to capture the essence of the product and do justice to its beauty. What good is an image if it can’t capture the bag’s charm and appeal? So, practice the perfection.